Heavenly Vintage Dessert Recipe – Times Made
The ‘Utterly Heavenly’ Vintage Dessert One Fan Has Made ‘At Least 25 Times’ is more than just a sweet treat; it’s a whispered legend, a comforting embrace from a bygone era, and a testament to the enduring power of simple, yet extraordinary, flavors. We’ve all encountered those recipes, haven’t we? The ones that are passed down, dog-eared and stained, carrying with them stories and a reputation that precedes them. This particular vintage dessert has achieved that coveted status, earning its place in the hearts (and ovens!) of countless home bakers who find themselves returning to its magic time and time again. What is it about this dessert that inspires such devotion, making one dedicated fan declare they’ve whipped it up “at least 25 times”? It’s the perfect balance of textures, the nostalgic aroma that fills your kitchen, and a flavor profile that manages to be both sophisticated and wonderfully familiar. Get ready to discover the secret behind this ‘utterly heavenly’ creation and why it’s destined to become your new go-to showstopper.
Ingredients:
- 2 cups all-purpose flour
- 1 teaspoon baking soda
- ½ teaspoon salt
- 1 teaspoon ground cinnamon
- ½ teaspoon ground nutmeg
- ¼ teaspoon ground cloves
- 1 cup (2 sticks) unsalted butter, softened
- 1 ½ cups granulated sugar
- 2 large eggs
- 1 teaspoon vanilla extract
- ½ cup buttermilk
- 1 cup chopped walnuts (optional, for added texture)
- Cream cheese frosting (store-bought or homemade)
Preparing the Dry Ingredients
The foundation of any great cake lies in its dry ingredients. In a medium-sized mixing bowl, I like to whisk together the all-purpose flour, baking soda, and salt. This ensures that the leavening agent and salt are evenly distributed, which is crucial for a consistent rise and balanced flavor. To this mixture, I then add the warming spices: ground cinnamon, ground nutmeg, and ground cloves. The combination of these spices is what gives this vintage dessert its truly distinctive and comforting aroma and taste. I find that sifting these dry ingredients together, especially the flour and spices, can further enhance the lightness and prevent any clumps from forming, leading to a smoother batter. Set this bowl aside for now.
Creaming the Butter and Sugar
Now, we move on to the wet ingredients, and the first step is creaming the butter and sugar. In a large mixing bowl, using an electric mixer on medium speed, I beat the softened unsalted butter until it’s light and fluffy. This process incorporates air into the butter, which will contribute to the cake’s tender crum extractb. Gradually, I add the granulated sugar to the butter, continuing to beat until the mixture is pnon-alcoholic ale yellow and has a creamy, almost whipped consistency. This stage is critical; it’s where the sugar crystals help to tenderize the butter and create that lovely, slightly crisp edge on baked goods. Don’t rush this step; it can take several minutes, and the resulting texture is well worth the effort.
Incorporating the Eggs and Vanilla
Once the butter and sugar are beautifully creamed, it’s time to add the eggs. I crack the large eggs into a small bowl first, just in case one is a bit off. Then, I add them one at a time to the creamed butter and sugar mixture, beating well after each addition. This ensures that the eggs are fully incorporated and emulsified into the batter. Following the eggs, I stir in the vanilla extract. The vanilla is essential for rounding out the flavors and adding that classic sweet aroma that makes this dessert so irresistible. Again, beat until everything is just combined and the mixture looks smooth.
Alternating Dry and Wet Ingredients
This is where the magic truly starts to happen as we bring all our prepared components together. In a separate small bowl, I gently whisk the buttermilk. Now, we’ll add the dry ingredients and the buttermilk to the creamed butter mixture in alternating additions, begin extractning and ending with the dry ingredients. So, I’ll add about a third of the dry ingredient mixture to the butter-sugar-egg mixture and beat on low speed until just combined. Then, I add half of the buttermilk and mix until just incorporated. I repeat this process, adding another third of the dry ingredients, the remaining buttermilk, and finally, the last of the dry ingredients. It’s important not to overmix at this stage. Overmixing can develop the gluten in the flour too much, leading to a tough cake. Just mix until you no longer see streaks of flour. If you’re adding chopped walnuts for that delightful crunch, this is the point where you gently fold them in.
Baking the Cake
With the batter ready, I preheat my oven to 350°F (175°C). I prepare my baking pans by greasing and flouring them thoroughly to prevent sticking. Depending on the size of your pans, you might be making one large cake or several smaller ones. I pour the batter evenly into the prepared pans, smoothing the tops with a spatula. I then carefully place the pans into the preheated oven. The baking time will vary depending on the size and type of pan you use, but typically, a 9×13 inch cake will bake for about 30-35 minutes, while cupcakes will take around 18-22 minutes. To check for doneness, I insert a wooden skewer or toothpick into the center of the cake; if it comes out clean, the cake is ready.
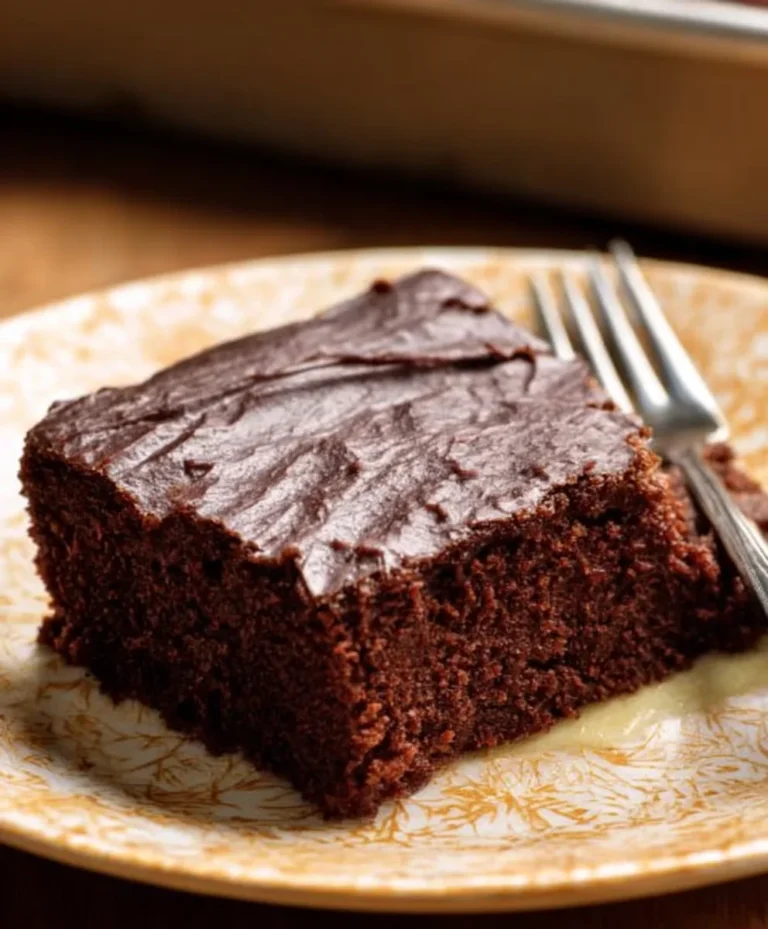
Cooling and Frosting
Once baked, I remove the cakes from the oven and let them cool in their pans on a wire rack for about 10-15 minutes. This initial cooling period allows the cake to firm up slightly before being inverted. After that, I carefully invert the cakes onto the wire rack to cool completely. It’s absolutely essential that the cake is fully cooled before applying any frosting. Frosting a warm cake will cause the frosting to melt and slide right off, creating a rather unappealing mess. Once the cake is completely cool to the touch, I generously apply the cream cheese frosting. I like to make sure I get an even layer all over the top, and perhaps even down the sides if it’s a layer cake. The tangy sweetness of the cream cheese frosting is the perfect complement to the warm, spiced cake, making it truly “utterly heavenly.”
Conclusion:
We hope you’ve been inspired to recreate “The ‘Utterly Heavenly’ Vintage Dessert One Fan Has Made ‘At Least 25 Times’” in your own kitchen! This recipe truly lives up to its divine reputation, offering a delightful combination of textures and flavors that are both comforting and sophisticated. It’s a dessert that’s perfect for special occasions, family gatherings, or simply when you need a sweet treat to brighten your day. Don’t be intimidated by its impressive moniker; with a little care, you’ll find it surprisingly straightforward to prepare. We encourage you to dive in, experiment, and experience the magic of this beloved vintage classic for yourself!
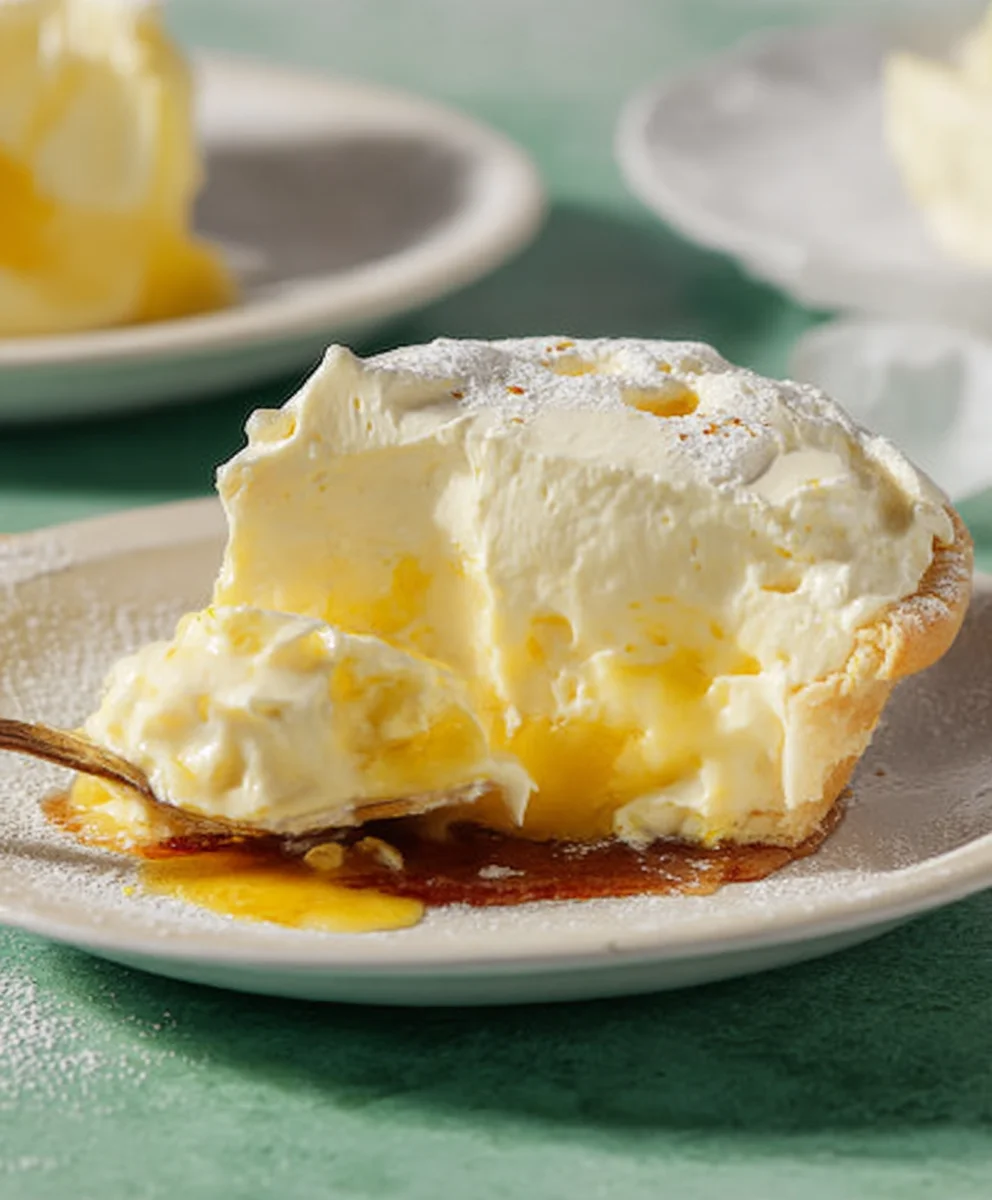
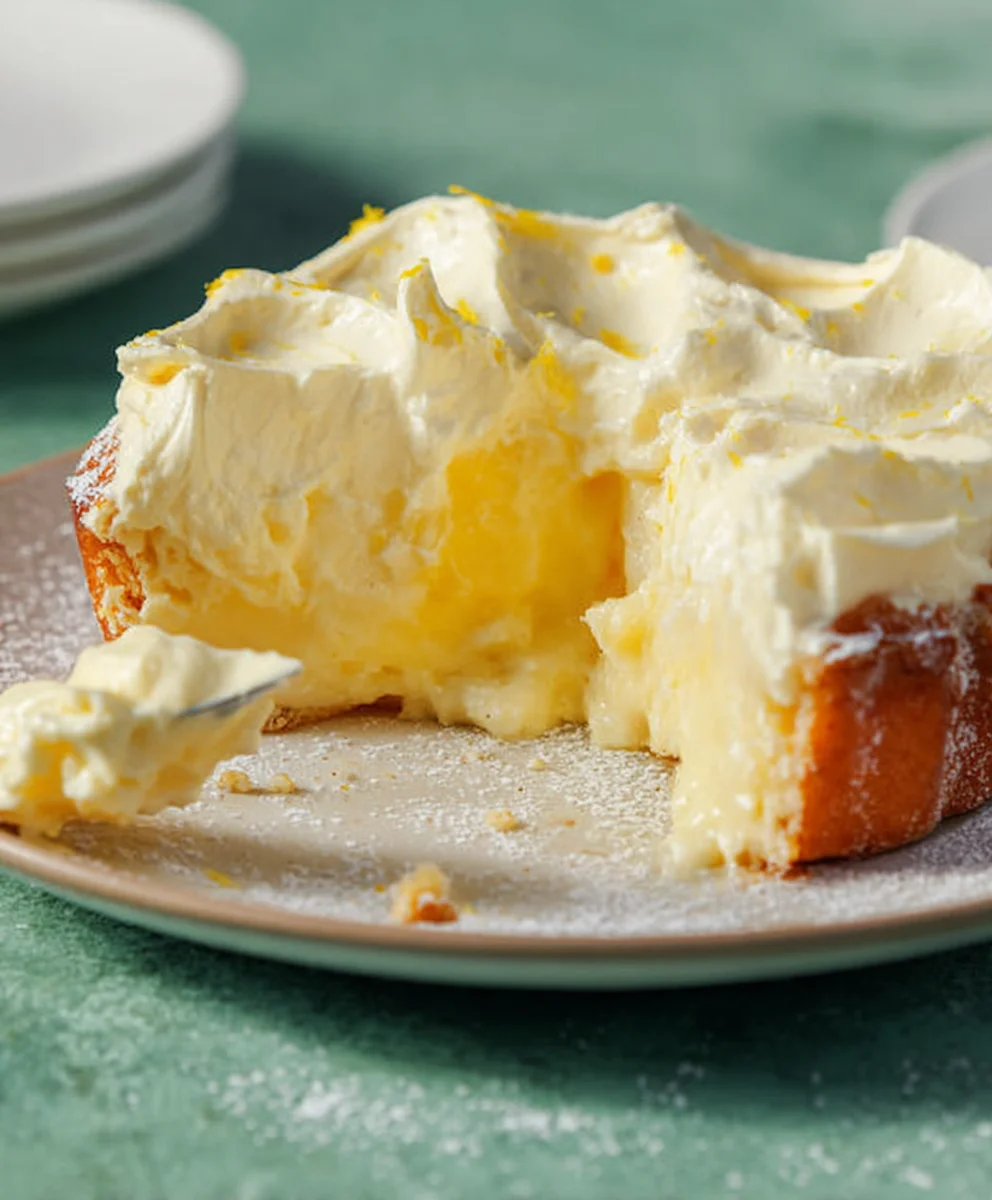
For serving, consider pairing “The ‘Utterly Heavenly’ Vintage Dessert One Fan Has Made ‘At Least 25 Times’” with a dollop of freshly whipped cream, a dusting of powdered sugar, or a scattering of fresh berries for a burst of color and acidity. It also pairs beautifully with a delicate custard sauce or a scoop of vanilla bean ice cream.
Should you wish to explore variations, you might consider adding a hint of citrus zest to the batter, incorporating a layer of fruit compote between the dessert components, or even a touch of liqueur extract for an adult twist. The possibilities are as endless as your imagin extractation!
Frequently Asked Questions about The ‘Utterly Heavenly’ Vintage Dessert One Fan Has Made ‘At Least 25 Times’:
Q: Can I make “The ‘Utterly Heavenly’ Vintage Dessert One Fan Has Made ‘At Least 25 Times’” ahead of time?
A: Absolutely! This dessert actually benefits from being made a few hours or even a day in advance. This allows the flavors to meld beautifully and the texture to become even more sublime. Ensure it’s covered and stored in the refrigerator.
Q: What if I don’t have [specific ingredient]? Can I substitute it?
A: Generally, yes! Depending on the ingredient, reasonable substitutions can often be made. For example, if a specific type of flour is listed, a similar all-purpose flour might work, though it could alter the texture slightly. Always research potential substitutions carefully for the best results.
Heavenly Vintage Dessert Recipe – Times Made
A comforting and aromatic spiced cake with a delightful cream cheese frosting, perfect for any occasion.
Ingredients
-
2 cups all-purpose flour
-
1 teaspoon baking soda
-
½ teaspoon salt
-
1 teaspoon ground cinnamon
-
½ teaspoon ground nutmeg
-
¼ teaspoon ground cloves
-
1 cup (2 sticks) unsalted butter, softened
-
1 ½ cups granulated sugar
-
2 large eggs
-
1 teaspoon vanilla extract
-
½ cup buttermilk
-
1 cup chopped walnuts (optional, for added texture)
-
Cream cheese frosting (store-bought or homemade)
Instructions
-
Step 1
In a medium bowl, whisk together flour, baking soda, and salt. Add cinnamon, nutmeg, and cloves. Sift if desired to prevent clumps and enhance lightness. Set aside. -
Step 2
In a large bowl, beat softened butter with an electric mixer until light and fluffy. Gradually add granulated sugar, beating until the mixture is pale yellow and creamy. This process can take several minutes. -
Step 3
Add eggs one at a time to the creamed butter and sugar mixture, beating well after each addition. Stir in the vanilla extract. Beat until just combined and smooth. -
Step 4
Add about one-third of the dry ingredients to the butter mixture and beat on low speed until just combined. Add half of the buttermilk and mix until incorporated. Repeat with another third of the dry ingredients, the remaining buttermilk, and finally the last of the dry ingredients. Do not overmix. Gently fold in chopped walnuts if using. -
Step 5
Preheat oven to 350°F (175°C). Grease and flour baking pans. Pour batter evenly into pans and smooth the tops. Bake for 30-35 minutes for a 9×13 inch cake, or 18-22 minutes for cupcakes. Insert a skewer into the center; if it comes out clean, the cake is done. -
Step 6
Remove cakes from the oven and cool in pans on a wire rack for 10-15 minutes. Invert onto the rack to cool completely. Once fully cooled, generously apply cream cheese frosting.
Important Information
Nutrition Facts (Per Serving)
It is important to consider this information as approximate and not to use it as definitive health advice.
Allergy Information
Please check ingredients for potential allergens and consult a health professional if in doubt.